How to Fix a Broken 3D Print: Best Glue for PLA and What to Avoid
Snapped ornament or keychain? Here's how to fix a broken 3D print: which glue works on PLA and PETG, step-by-step repair, and the glues and mistakes to avoid.
By the Filagora team · November 19, 2026 · 9 min read
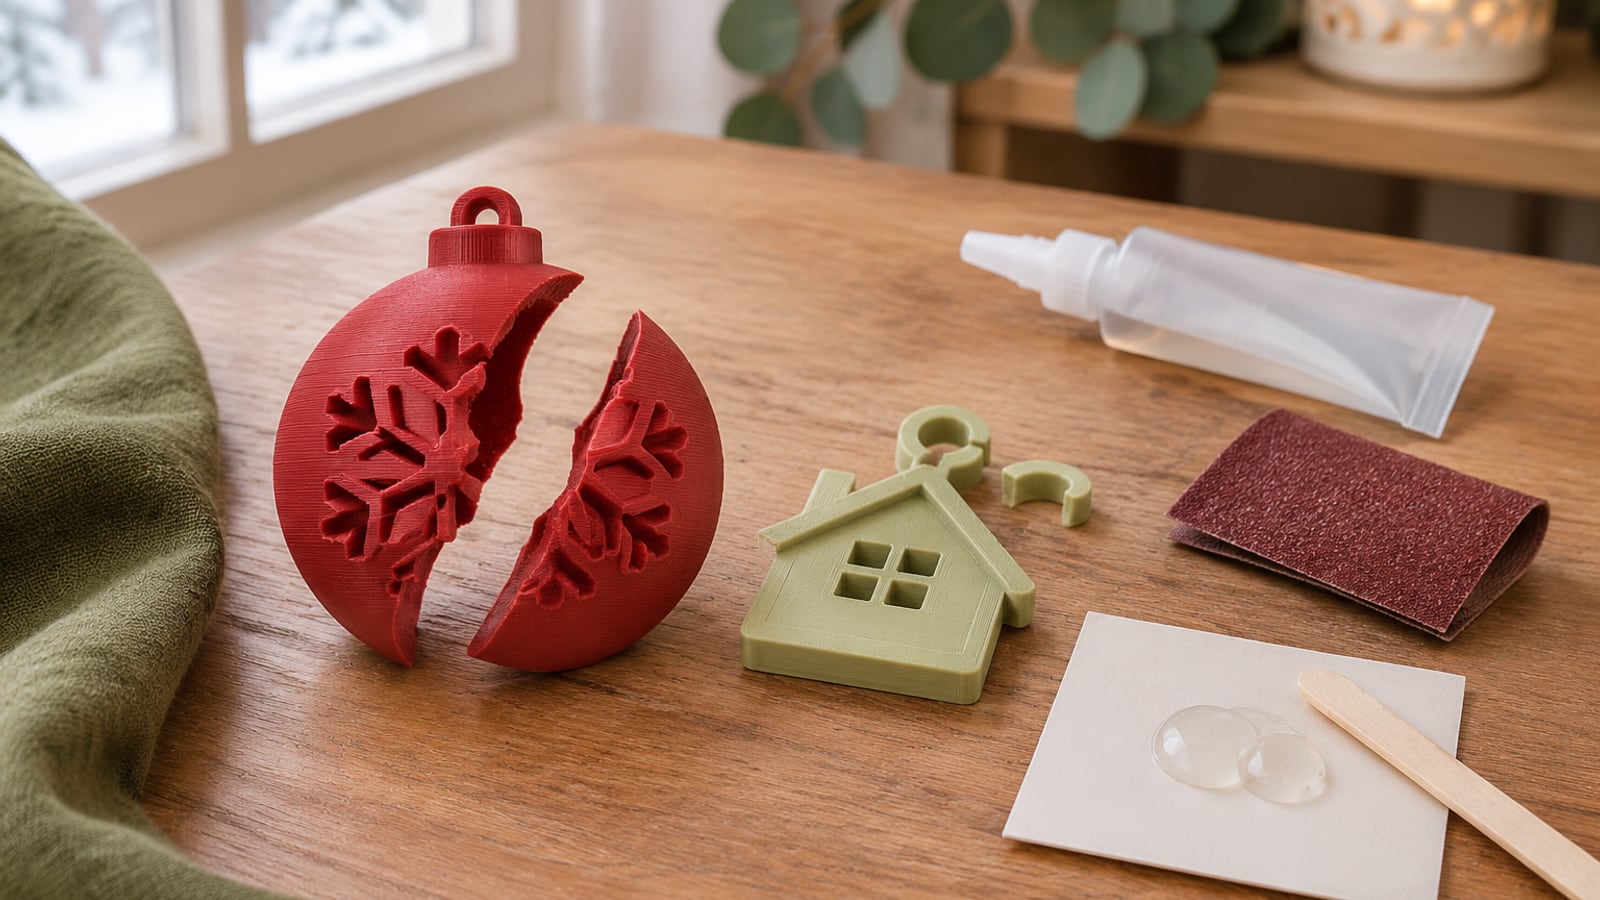
For most broken 3D prints, the fix is gel super glue (cyanoacrylate, or CA). Snapmaker rates CA gel the best all-round pick for PLA and names Loctite Super Glue Gel Control as an example. If the part carries weight, keeps breaking, or is made of PETG, use two-part epoxy instead. The same guide calls epoxy the clear winner for long-term durability.
The one glue to keep away from your print is the original brown Gorilla Glue. It foams as it cures and pushes the pieces apart.
Most repair guides assume you own a printer, a hot-air gun and a shelf of solvents. This one is for people who bought or received a print, watched it snap, and want it fixed with things from a hardware store.
Why 3D prints break where they do
A printed object is built from thin layers of plastic stacked on top of each other. Each layer is strong along its length, but the bond between layers is the weak direction. That's why a snapped print usually breaks in a clean, flat line that follows the layers.
The parts that break most often on small gifts are predictable:
- Keychain loops. A tiny ring of plastic takes all the swinging and tugging of a key ring.
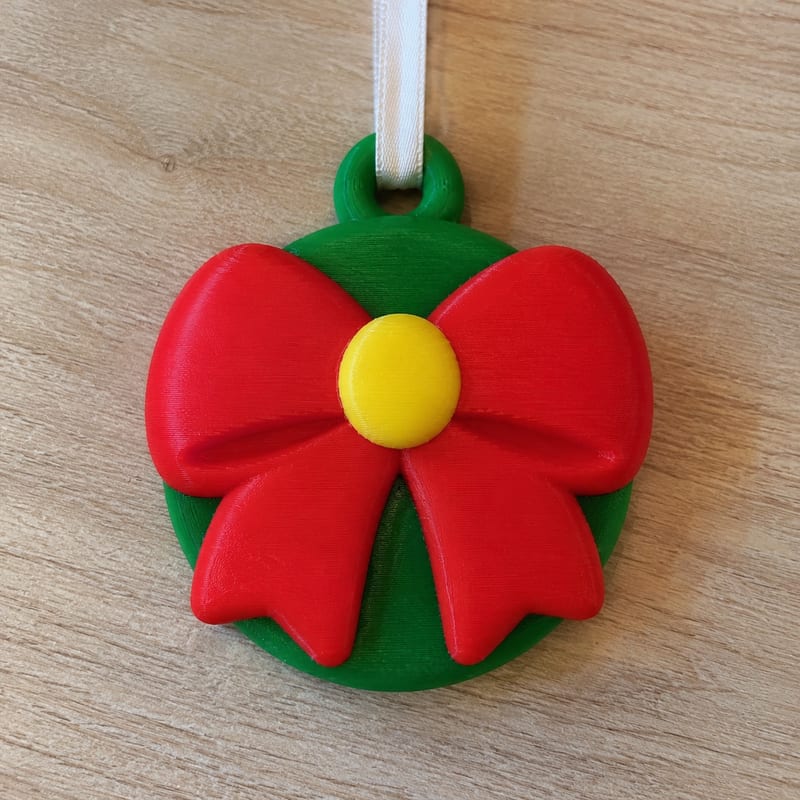
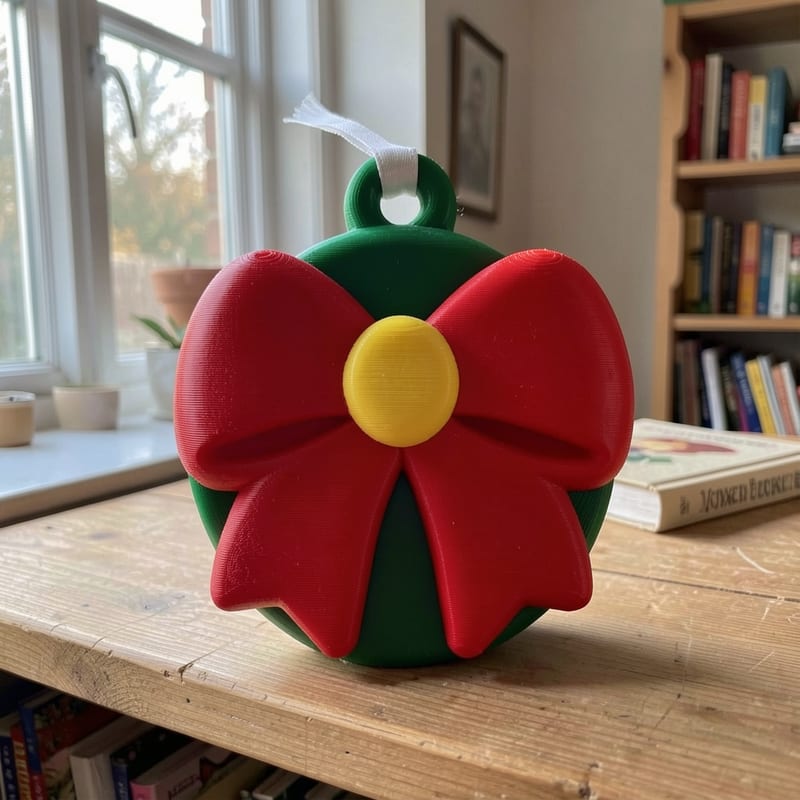
- Ornament hangers. A thin tab gets knocked off when the ornament is dropped or packed away.
- Thin details. Antlers, ears, tails, hinges and bookmark tips.
- Shipping hits. A corner takes a knock in transit and cracks along a layer line.
You'll see guides disagree on whether PLA is porous. Lava3DP calls it porous, while Mr Resin calls it non-porous. Both are partly right. The plastic itself doesn't soak up glue the way wood does, but a printed surface has small gaps and ridges between layers. That's why thick gel glue, which fills those gaps, tends to work better on a broken print than thin, watery glue.
The short answer: which glue to buy
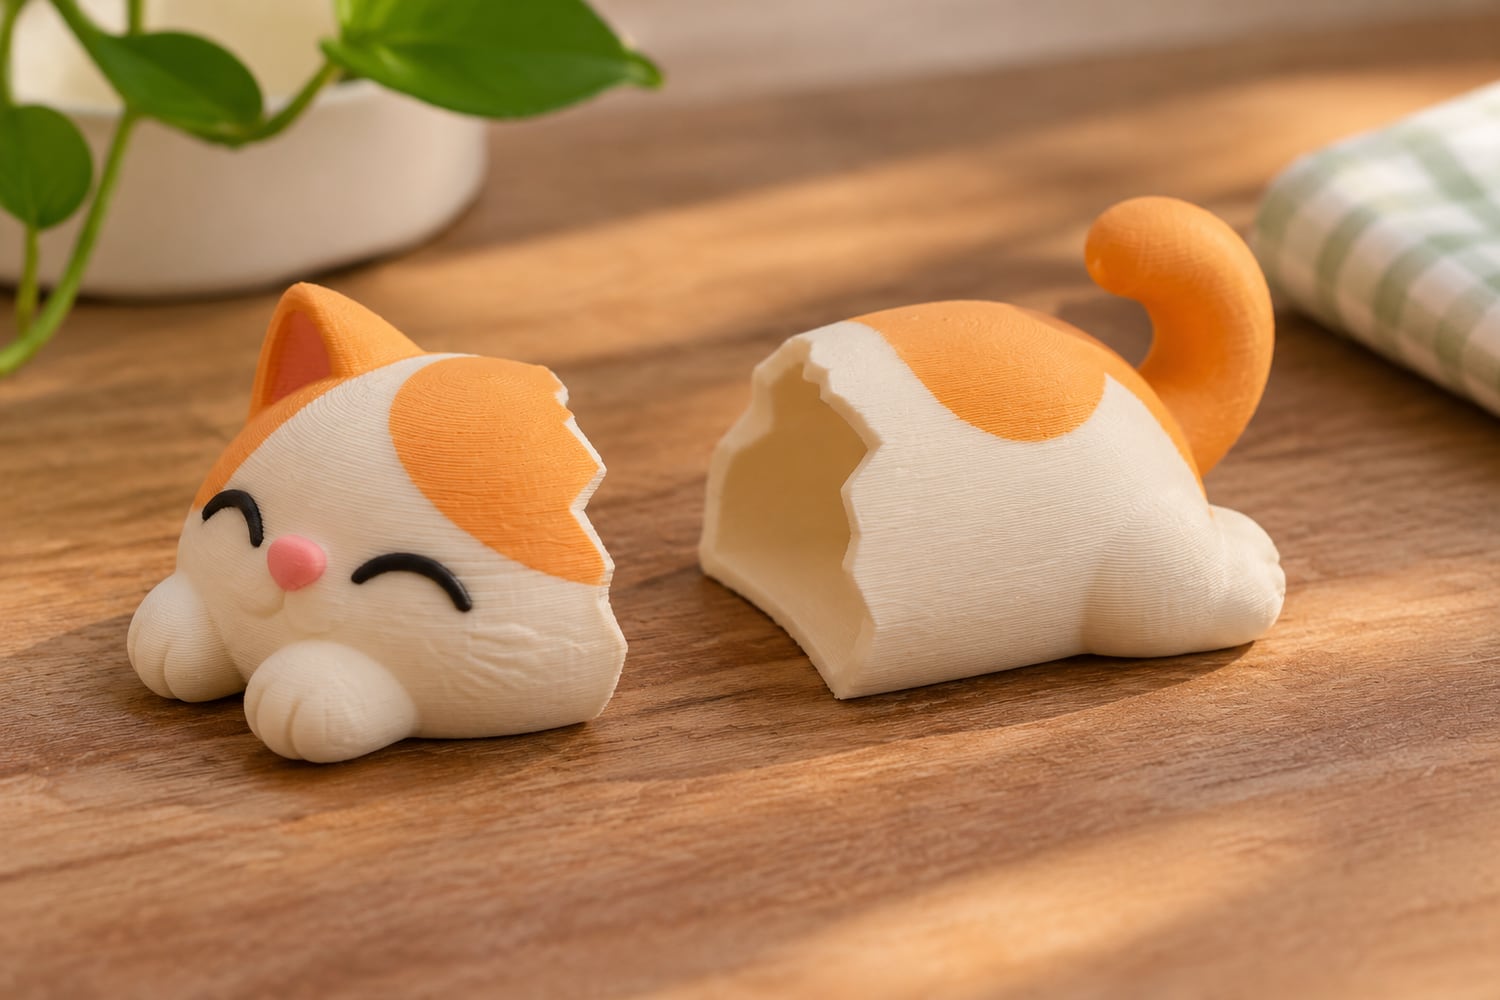
- Gel super glue for most clean breaks in PLA: ornaments, keychains, figurines, decor. Lava3DP recommends gel over the thin liquid kind, paired with an activator spray for small parts.
- Two-part epoxy for anything that holds weight, gets knocked, has already broken once, or is made of PETG. Mr Resin uses CA for clean PLA breaks and epoxy for PETG and load-bearing parts.
If you're not sure what your print is made of, check the listing or ask the maker. BigRep notes that no single glue works on every material. CA and epoxy are good starting points for PLA and PETG, but flexible TPU and nylon need glues made for those plastics.
Glues compared
| Glue | Works on PLA? | Best for | Watch out for |
|---|---|---|---|
| CA gel (super glue gel) | Yes | Small clean breaks, ornaments, keychains | Brittle; needs a thin layer |
| Thin liquid CA | Yes, on tight breaks | Hairline cracks where pieces close fully | Runs; doesn't fill gaps |
| Two-part epoxy | Yes | Weight-bearing parts, PETG, repeat breaks | Messier, slower to cure |
| Gorilla Super Glue Gel | Yes | Same jobs as CA gel | Same as CA gel |
| Original Gorilla Glue (brown) | Avoid | Not suited to this job | Foams and pushes pieces apart |
| E6000 | Yes | Joints that see slight flex | Still not meant to bend much |
| Contact cement | Yes, in testing | Flat surfaces | Not a household staple |
| Plastic model cement | Only OK | Not recommended | Glue failed in testing |
| Solvent welds (Weld-On 16) | Yes | Makers with ventilation | Runny, stains, slow to full strength |
| White glue (Elmer's) | Not recommended | Paper and wood | Made for porous materials |
A few notes on the rows above:
- Gorilla: the name covers very different products. Snapmaker says Gorilla Super Glue Gel works well on PLA, but the original expanding brown glue does not.
- E6000: 3DPrintscape says it bonds PLA and is a bit more flexible than super glue, though it still isn't meant to bend much.
- Test results: in an Instructables bond test, joints made with Weld-On 16, CA and contact cement were stronger than the PLA itself: the plastic broke before the glue did. Plastic model cement was only OK, because the glue gave way.
- Solvents: Weld-On 16 melts the PLA surface and fuses the pieces. JLC3DP notes it is runny, stains nearby surfaces and can take about 24 hours to reach full strength. It works, but it's a maker's tool, not a quick household fix.
Step by step: fixing a clean break
This works for most snapped PLA pieces. The steps follow GlueMasters, Mr Resin and Aoseed.
- Stop and photograph it if it arrived broken. Before any glue goes on, take clear photos of the damage and the packaging. More on why below.
- Clean both faces. Pick off loose strands and wipe away dust. Skin oil and dirt are a common reason glue fails.
- Dry-fit. Push the pieces together without glue so you know exactly how they line up. Once glued pieces touch, you don't want to move them.
- Scuff lightly. Aoseed suggests 220 to 400 grit sandpaper on the break faces, then removing the dust. The Instructables test found rougher sanding gave stronger bonds. Sand the break faces only, not the visible surface.
- Apply a small amount to one side. A few dots of gel is plenty for a small part. More glue is not more strength.
- Press and hold. Hold the pieces firmly together for 15 to 30 seconds and don't shift them once they touch.
- Let it cure. Mr Resin suggests leaving CA for several minutes before handling. Give it longer before the part takes any real stress. For epoxy, follow the cure time on the package.
On glue type: thin CA wicks into tight breaks where the pieces close perfectly, while medium or thick CA fills gaps, according to GlueMasters. Most real breaks have small chips missing, which is another reason gel is the safer bet.
Why super glue won't hold on your print
The way a joint fails tells you what went wrong. Aoseed breaks it down:
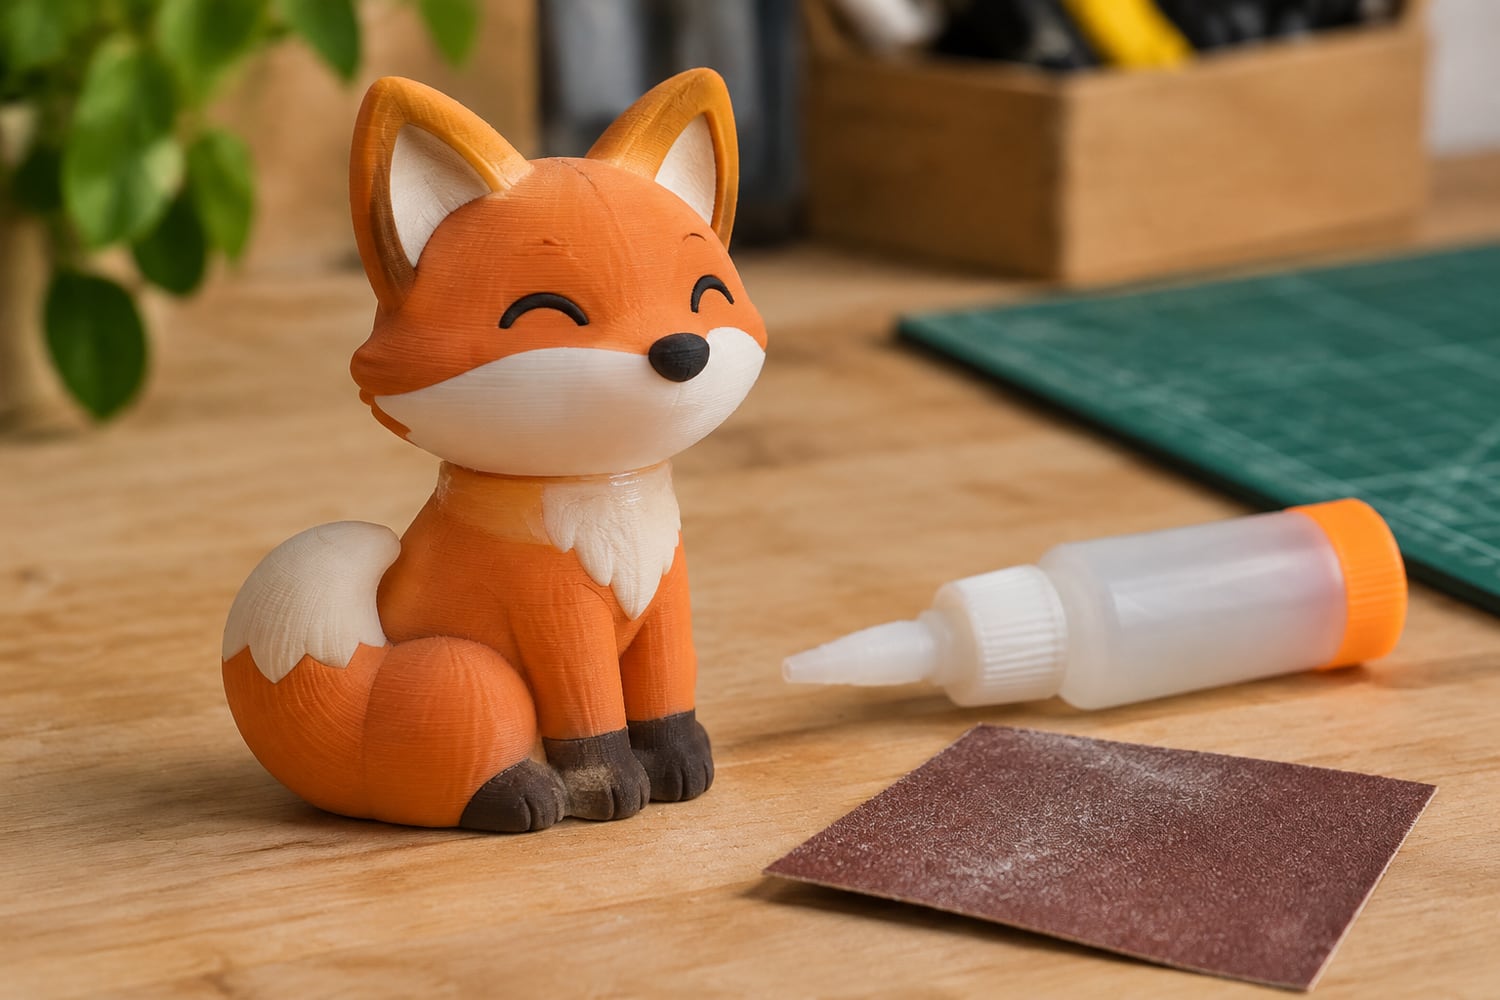
- The glue peels off cleanly from one side: the surface was dirty, glossy or oily, or the glue was wrong. Clean it, scuff it at 220 to 400 grit, remove the dust and try again.
- The joint snaps through the middle of the glue: the glue layer was too thick. Use a thinner layer, or switch to epoxy plus reinforcement.
People also argue about this online. A long Bambu Lab forum thread has users split: some say CA works fine but needs moisture to cure while PLA is very dry, and others say thicker super glue works because it fills the gaps. If one glue has failed you twice on a clean, scuffed surface, try the other main option rather than more of the same.
Making the repair last
Glue only holds as well as the area it has to grip. A few ways to help it:
- Keep the glue layer thin. A thick blob is weaker than a thin, even film.
- Add a backing plate. For a broken part you can't redesign, Aoseed suggests gluing a small plate across the seam on the hidden side. A thin scrap of plastic or a flat piece from a craft store works.
- Brace, don't re-glue. If the same seam keeps breaking, Aoseed's advice is to add a brace rather than more glue.
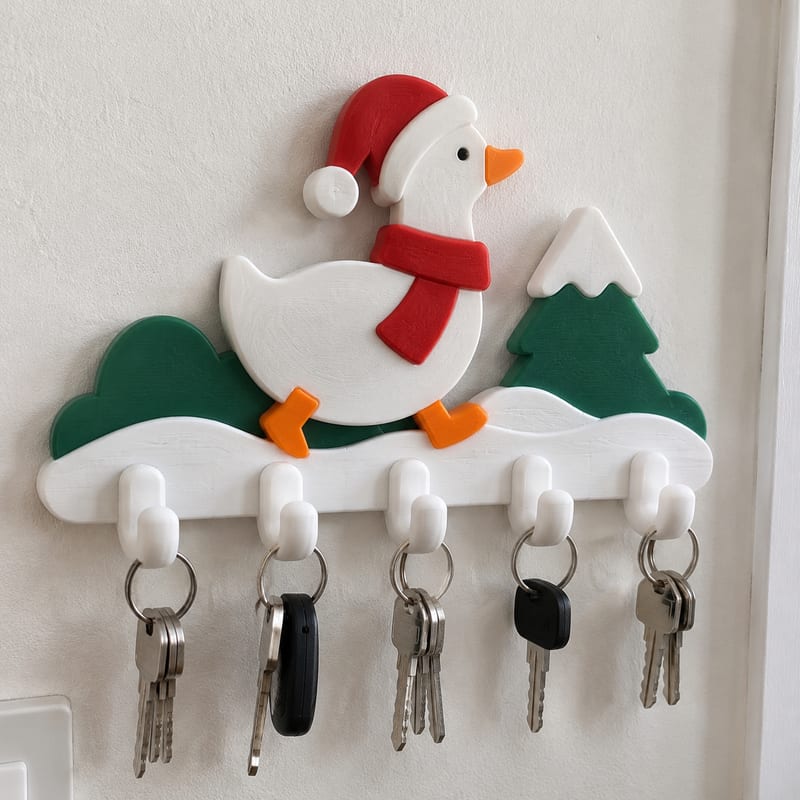
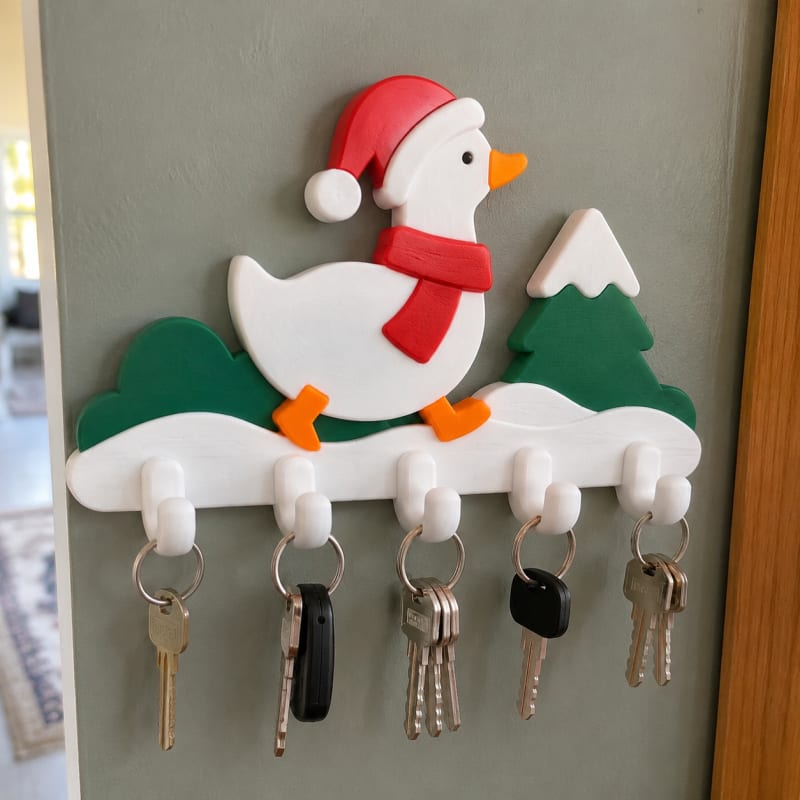
- Use epoxy on parts under load. A goose key holder or a wall-mounted mug rack has weight pulling on it all day. Those are epoxy jobs, not super glue jobs.
Special cases
Keychain loops and ornament hangers
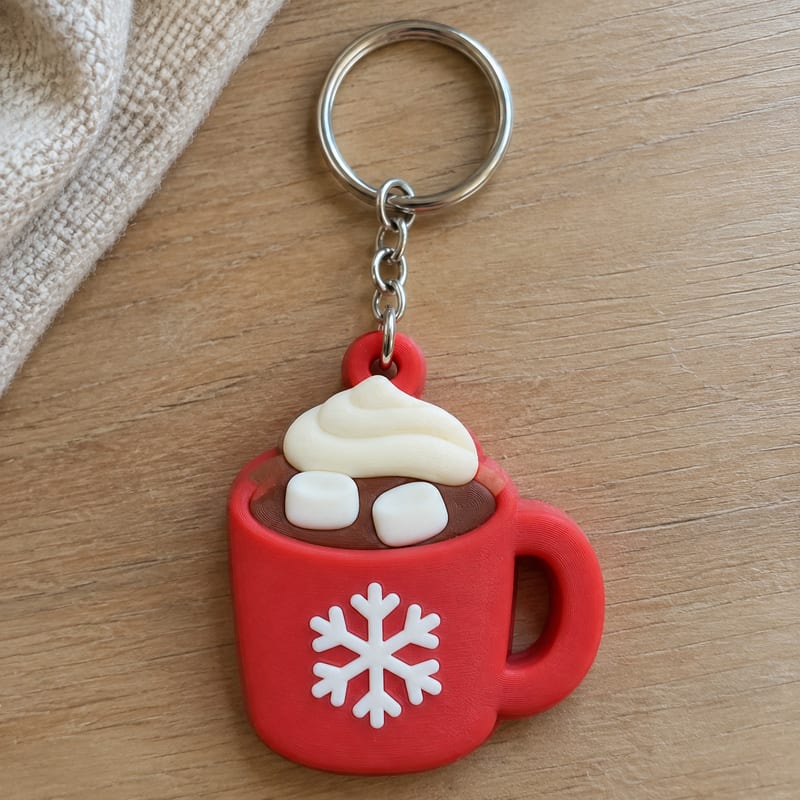
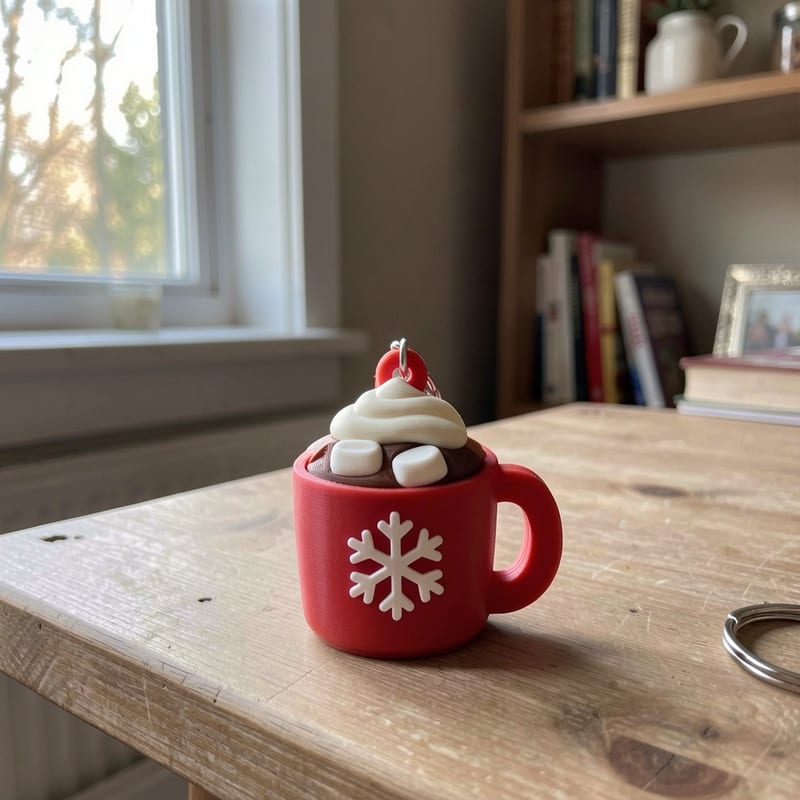
These are the hardest repairs because the break area is tiny and the loop takes all the force. Gel CA can reattach a hanger on an ornament that just hangs on a tree. A keychain loop that swings against keys every day is a tougher ask. If a loop on something like a hot cocoa mug keychain snaps flush, a glued loop may not survive daily use. Consider keeping it as a bag charm with gentler handling, or ask the maker about a replacement.
PETG prints
PETG is tougher and slightly more flexible than PLA, and the repair guides lean toward epoxy for it. Mr Resin specifically recommends two-part epoxy for PETG. If you're not sure which material you have, our PLA vs PETG guide explains how they differ.
Items that get wet
Soap dishes, dish brush holders and toothbrush cups sit in water every day. We couldn't find solid testing on how glued joints in printed parts hold up to constant soaking. If you repair one, epoxy is the more durable choice. For a part that lives in a wet sink, a replacement is often the better answer. Our guide on cleaning 3D printed items covers how to care for bath pieces either way.
Outdoor decor
Garden gnomes and yard decor deal with sun, rain and temperature swings, which stress both the print and the glue. We didn't find reliable data on glues in cold weather, so keep repaired outdoor pieces somewhere sheltered. See can PLA be used outside for what printed decor handles in winter.
Hiding the seam
A clean break glued with very little glue is often hard to spot. If you can see it:
- Use less glue next time. Most visible seams come from squeeze-out, not the crack.
- Sand once fully cured. Lightly sand any dried bead of glue flush with fine sandpaper, working only on the seam.
- Touch up with paint. A small brush and acrylic craft paint in a matching color will cover a seam on most decor pieces. Matching a glossy or sparkly filament exactly is hard, so test on the back first.
When to skip the repair
Some breaks aren't worth gluing.
- Anything that touches food. Printed PLA and PETG aren't food-safe by default, because layer lines hold bacteria. A glued crack adds another place for grime to collect, and we couldn't find good data on glue safety for food contact. Don't repair cookie cutters, scoops or plates; replace them. Our food safety guide explains more.
- Parts that hold real weight above people or pets. Wall racks and hooks that fail can drop what they hold. Use epoxy with a backing plate, or replace the item.
- Small pieces around young children. A broken-off ear or loop is a small part. Printed items aren't meant for children under 12, and repaired ones even less so.
- Shipping damage. If it arrived broken, contact the seller before you glue anything. Your photos of the damage and the box are what makers need to send a replacement, and gluing first can make a claim harder.
Every item on Filagora is printed to order by an independent maker, so if a piece arrives cracked, message the maker with your photos first. If you're replacing something beyond repair, browse Kitchen & Bath and the rest of the shop for a fresh print.
FAQ
See the questions below for quick answers on super glue, Gorilla Glue, E6000, acetone and white glue.
Frequently asked questions
Does super glue work on PLA?
Yes. Gel super glue is the best all-round pick for most PLA breaks, and in an Instructables bond test the PLA itself broke before the CA joint did. Clean and lightly scuff both faces first and use a thin layer.
Is Gorilla Glue or E6000 safe to use on PLA?
Gorilla Super Glue Gel works well on PLA, but avoid the original brown Gorilla Glue because it foams and pushes the pieces apart. E6000 bonds PLA and is slightly more flexible than super glue, though it isn't meant for joints that bend much.
Can I use acetone to repair PLA?
Acetone welding is a technique associated with ABS, not PLA, and none of the PLA repair guides we checked recommend it. Use gel super glue or two-part epoxy instead.
Does Elmer's glue stick to PLA?
White glue like Elmer's is made for porous materials such as paper and wood, and it isn't a recommended choice for PLA. Gel super glue or epoxy will give a far stronger joint.
What is the strongest way to join 3D printed parts?
Two-part epoxy is considered the strongest and most durable glue for printed parts, especially for PETG and pieces that carry weight. Adding a backing plate on the hidden side makes the repair stronger still.
Pieces from this guide
Printed to order by makers on Filagora.